
Sugar High Brownies – Fairy Penguins
Saturday, May 21, 2011
What do you do when you drive
your partner to distraction and your workmates to hungry frustration by your
constant talk of baking? When every time you catch up with a friend, you take a
package of a little something (or three) that you thought they might like to
try? When your last waking thoughts are of what on earth to do with a jar of
lavender and how to tinker with the proportion of flour in cookie dough. And
when you sleepily ask your aforementioned and infinitely patient partner, who
is tinkering on his phone, potentially in a most-probably-futile effort to stop
you going on about varieties of brownies at a ridiculous hour of the night,
could he please write down salted caramel marshmallows in case you forget
before morning?
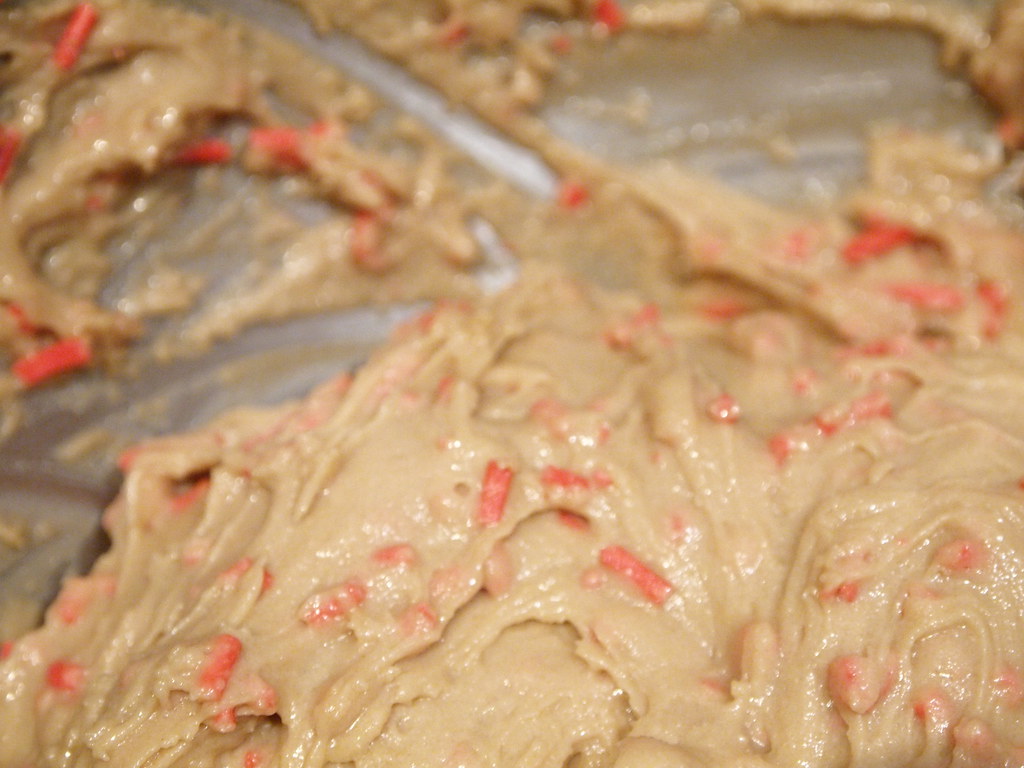
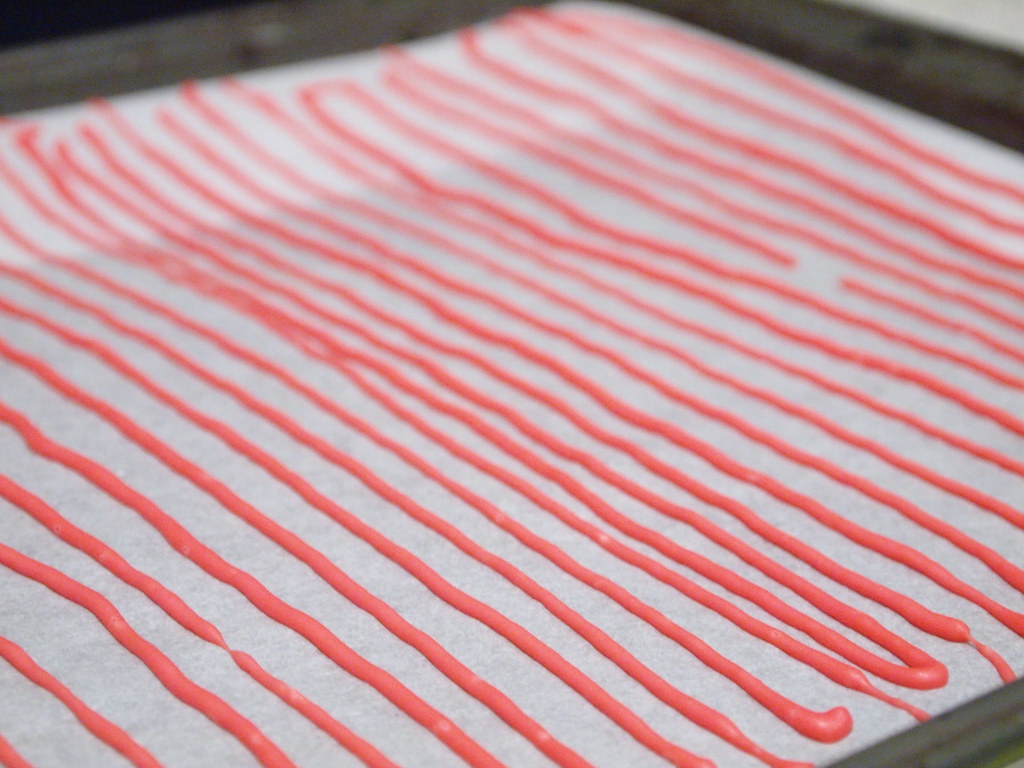 Home-made cherry-flavoured sprinkles - get ready to pipe lots (and lots) of lines!
It’s time for a Plan (and if
it has Capital Letters, then it has
to be Serious Business). To bring just a bit of order to the chaos, and a
little momentum to the whimsy. Finding other like-minded souls who share the
obsession with wielding spatulas into the wee small hours would also be good*.
Joining a baking group sounded like the ideal solution.
The Domestic Goddess’s Sugar High Fridays look like a perfect place to begin. It’s monthly, so there’s
enough wriggle room to fit it round non-baking-related real life. The themes
are wonderfully broad, so they can push you as far as you let them and be a
prompt to realise some of those percolating ideas and experiment more, without
sending me in a worry to a culinary dictionary.
When I came across this
month’s theme, which is hosted by Little Bitty Bakes, all thoughts of a fast-approaching deadline and better-to-put-it-off-till-next-month drifted away. Because it was sprinkles.
Sprinkles! Once more, for the people up the back who’ve stopped paying
attention until I stop waffling on and actually cook something... SPRINKLES! Or
hundreds and thousands, for the local folks.
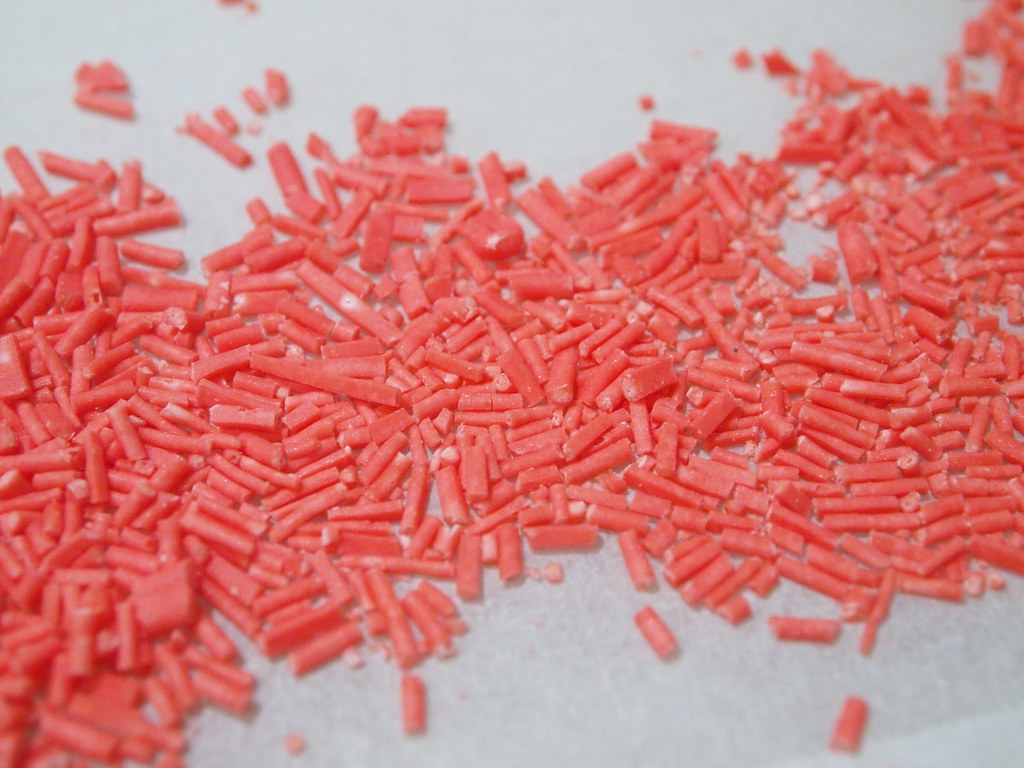
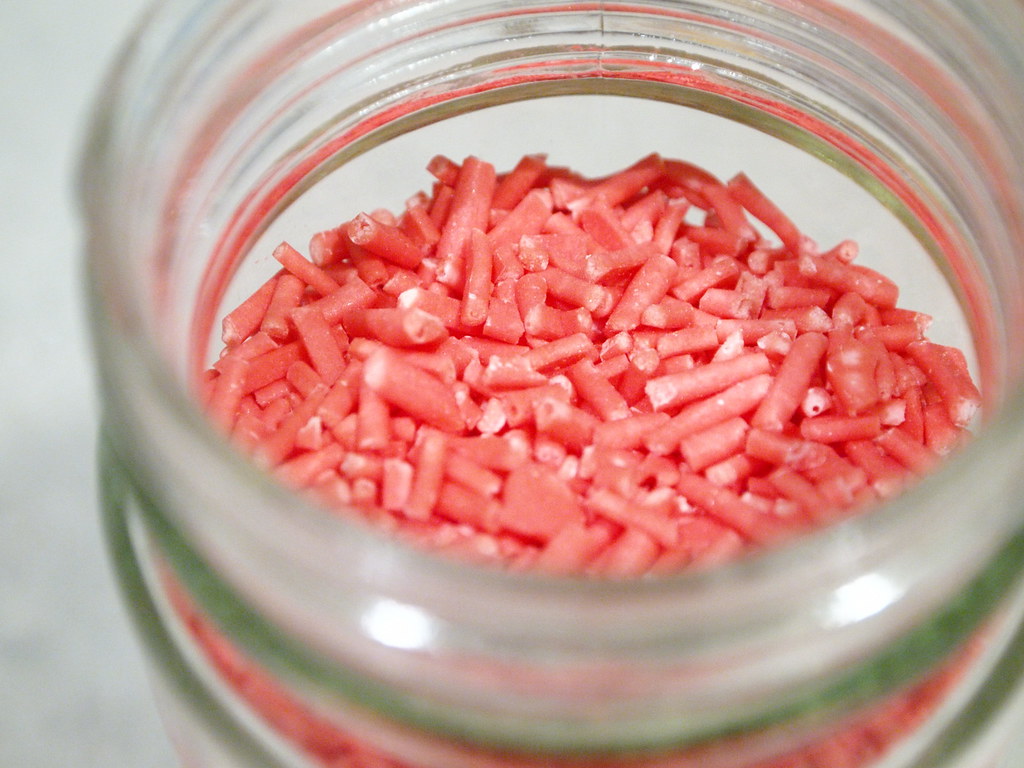 The finished cherry sprinkles - I love it when something actually looks better for looking home-made...
On last season’s Australian
Masterchef, a jar of sprinkles was included in one of the mystery box
challenges, and the judges treated it with the utmost derision. Any thought of actually using the sprinkles (rather than chuckling at them smugly and going
on to make something with duck and cinnamon and hollandaise sauce from scratch
– or possible all three combined) is met with an arch expression and the risk
of imminent doom. It was like a red rag to a stubborn penguin. Then, a couple
of months ago, my interest was piqued further by a recipe for making your own
sprinkles. I started wondering about how to incorporate them into a brownie,
because that is my starting point for all baking. And sometimes also my
finishing point.
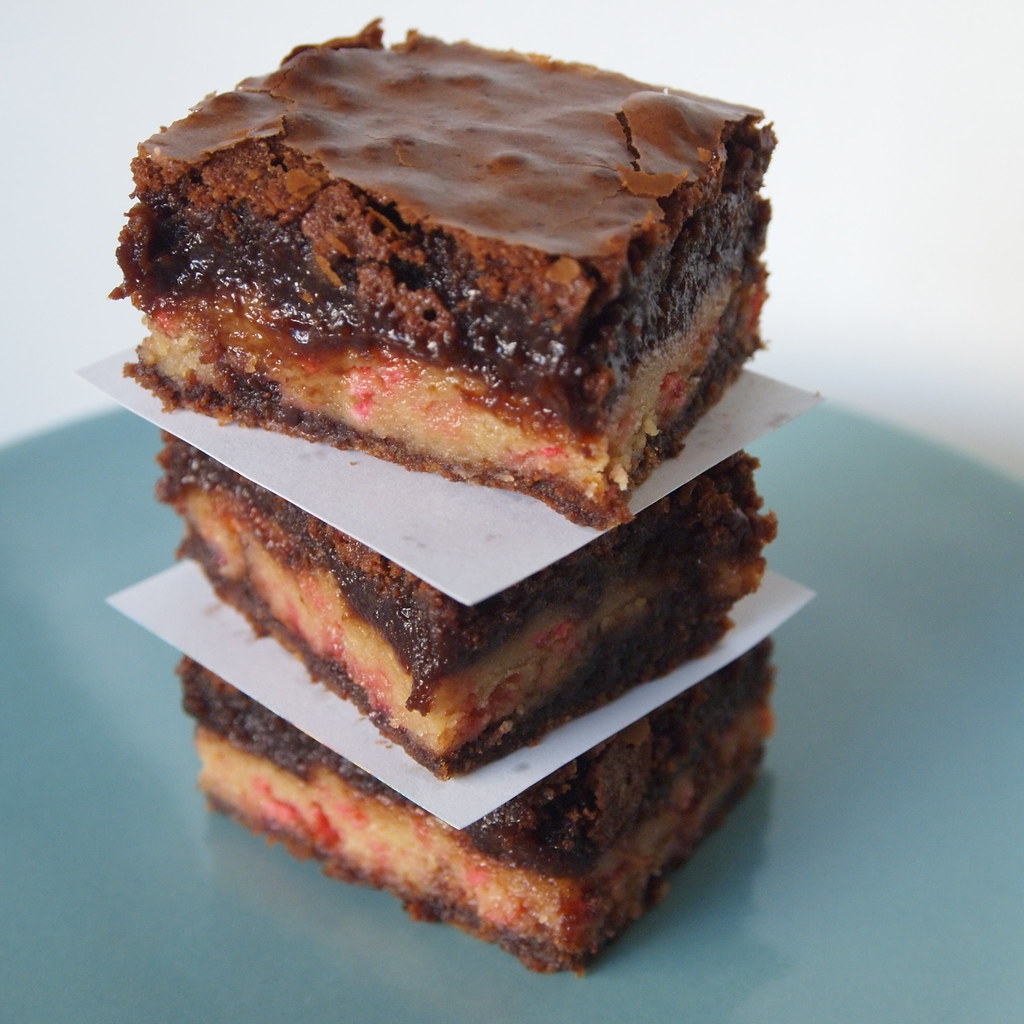
So, after far too much ado,
I’m very pleased to introduce you to Fairy Penguins. They’re small, they’re
cute, they’re ever so chocolaty, and they leave fairy bread in a pallid heap
in their wake (and that takes some
doing, especially when it’s this sort).
Here’s how they’re made...
Here’s how they’re made...
Sticky Penguin's Fairy Penguin Brownies
What you need
For the sprinkles
(variation on a recipe from BraveTart)
An important note: if you plan
to make your own sprinkles, this needs to be done at least the day before (although
they do keep, so you can be prepared in advance if you prefer). Alternatively,
this could be a good excuse to use up a lurking jar of bought hundreds and
thousands, or to treat yourself to some of those cute little colour-themed or
fancy-shaped sprinkles that are popping up in corners of stores. This recipe makes (at least) twice as many sprinkles as I used in the brownies.
227 g / 8 oz icing sugar
1 egg white
½ tsp salt
Flavouring and / or colouring
of your choice – I used a couple of drops of Roberts Confectionery cherry flavour oil and several
drops of red food colouring
For the cookie dough
For the cookie dough
(based on a recipe by Culinary Concoctions by Peabody)
These quantities make twice the amount of cookie dough needed for a batch of brownies. It keeps well in the fridge (if you let it - be warned, it's highly addictive!)
113 g /½ (US) cup butter
155 g / ¾ (US) cup (densely packed) dark brown sugar
1 tsp vanilla extract
288 g / 2 (US) cups plain flour
400 g / 14 oz sweetened condensed milk (I used Nestle low-fat condensed milk, and 400 g equates to one whole can. Possibly minus a couple of sneaky teaspoons for the cook...)
For the brownies
For the brownies
(as evolved by the Sticky Penguin)
198 g / 7 oz / 1¾ sticks butter
118 g / just over 4 oz dark chocolate
3 large eggs
1 tsp vanilla extract
163 g / 5¾ oz granulated sugar
70 g / 2½ oz dark brown sugar
75 g / 2.65 oz self raising flour (yep, I know these imperial conversions don't look pretty, sorry)
1½ tbsp Dutch-processed cocoa
powder

What to do
To make the sprinkles
1. Line baking sheets with
non-stick paper (or silicone mats, if you’re being fancy well-equipped). I used four baking trays and
still had some mixture left over at the end, but was running out of places to
put baking trays.
2. Sieve the icing sugar and
stir through the salt. Whisk in the egg white until you have a smooth paste.
3. Add the colouring and
flavouring and mix thoroughly to combine.
4. Spoon the icing into a
piping bag fitted with a narrow tip (or, if you’re like me and have too many
gadgets and an unsteady hand, one of those small concertina piping bottles
makes the next step so much easier and stops me getting icing all over everything!).
5. Pipe long thin lines of
icing the length or width of the baking pan, repeating until you have filled
each pan or run out of icing and making sure the lines aren’t touching each
other(I started out very cautiously piping the width of each tray, and as I got
further along was able to pipe down the length of each tray with the lines
further together – practice definitely seems to help with icing).
6. Allow the icing to dry out
and harden over at least 24 hours (really).
7. Use a sharp knife to cut
the icing into short pieces, and there you go... sprinkles!
To make the cookie dough
I like to make the cookie
dough before starting on the brownies – it takes a bit longer this way (you
could also make the dough during the half hour that the brownie batter is
refrigerated), but it’s a little less frantic this way round and it makes the
cookie dough a bit easier to handle if it has some time to rest before it’s
used.
1. Cream the butter and sugar until pale and fluffy (about 3 minutes in a stand mixer), scraping down the sides of the bowl part-way through.
2. Add the vanilla and beat in thoroughly.
3. Keeping the mixer on low speed, add a few tablespoons of sieved flour. Follow this with a few tablespoons (or a glug or two from the can) of condensed milk. Continue alternating between flour and condensed milk until both have been fully incorporated and the mixture is smooth.
4. Using a metal spoon or a spatula, stir in around 4 tablespoons of sprinkles and mix in thoroughly.
5. Leave the cookie dough to rest for around half an hour before using it so that it firms and is easier to handle. To make it even easier, refrigerate it for this period, or make it the day before when you make the sprinkles.
1. Line a 23 cm / 9 inch
square baking tin with greaseproof paper (there’s no need to butter or spray
the paper).
2. Melt the butter and
chocolate in a large heat-proof bowl rested on top of a saucepan of gently
simmering water. Remove it from the heat just before the last pieces of butter
are fully melted – the residual heat in the mixture will melt this, and it
avoids it being overcooked. Allow to cool slightly (around 10 minutes is
enough).
3. In a separate bowl, lightly
whisk the eggs and vanilla with a fork or small whisk and add the granulated
sugar and the dark brown sugar. Mix well so that the sugars are evenly combined
with each other and with the eggs and vanilla.
4. Gradually pour the eggs and
sugar into the melted chocolate, whisking as you go (doing it this way round,
rather than adding the chocolate to the eggs and sugar, seems to make it easier
to scrape out the bowl and makes the washing up less messy!). Mix thoroughly.
5. Sieve the flour and cocoa
powder into the brownie batter and mix gently until combined and there are no
floury streaks at the bottom of the bowl.
6. Pour about half the brownie
batter into the prepared tin and refrigerate for half an hour, so that the
mixture firms a little.
7. Preheat the oven to 175°C /
350°F.
8. Using your fingers, or a
rolling pin dusted with icing sugar, flatten out the cookie dough to around 3
mm / ¼ inch thick. Arrange the dough evenly over the cooled brownie batter,
making sure you go right to the edges of the tin and that all of the batter is
covered.
9. Pour the remaining brownie batter over the cookie dough, making sure that it is completely covered. Spread out evenly with a butter knife or spatula (this also helps to get rid of air bubbles).
10. Bake for 30-35 minutes, until the edges of the brownie are pulling away from the tin, the top has formed a thin crust, and the centre has just set if tested with a thin skewer.
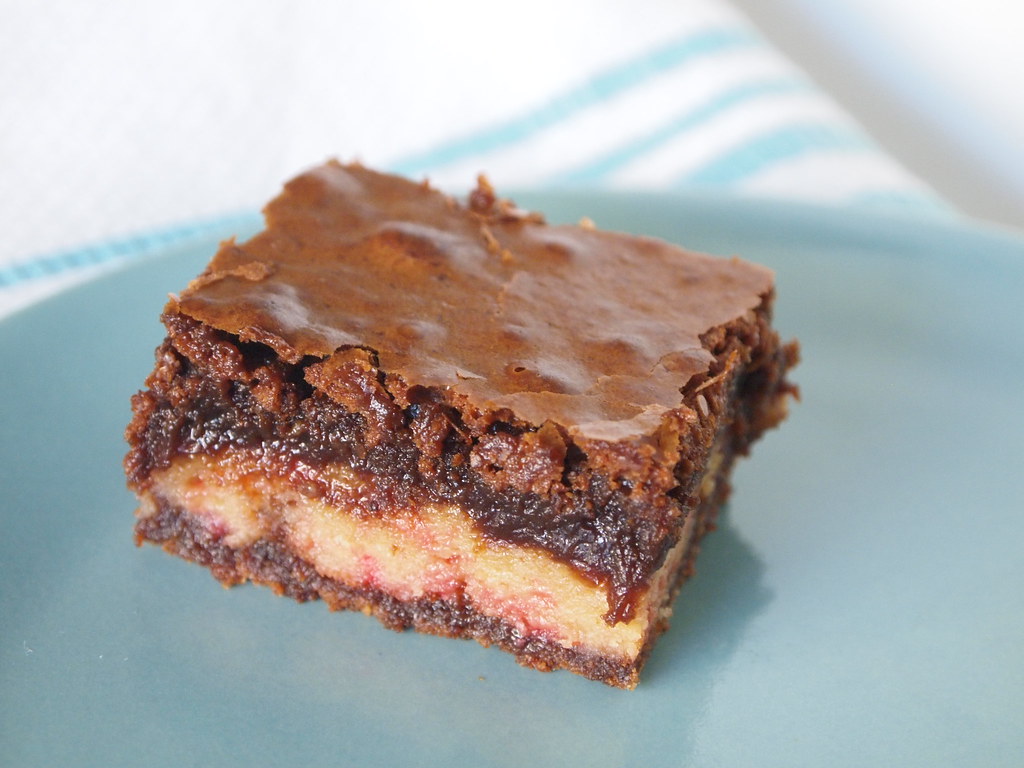
11. Allow to cool completely in the tin before removing and cutting into pieces. I let mine cool overnight, and it helps them firm up considerably, so that they keep a lovely squishy consistency without descending into a gooey mess (which is what happens if you go near them when they're warm - which could actually be scrumptious if made in individual pans for a dessert...). I cut them into 20 pieces when using a tin this size.
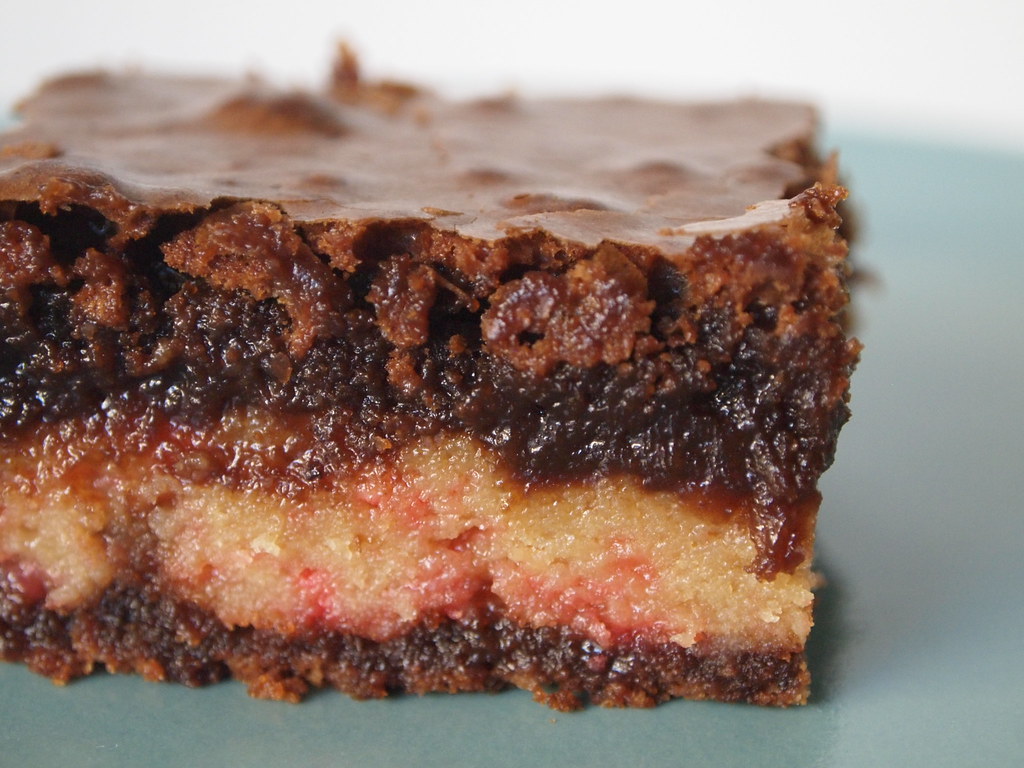
The finished brownies had a distinct layer of cookie dough sandwiched between the fudgy chocolate brownie. The pink sprinkles were less pronounced after baking than I would've liked, although still discernible. Interestingly, the cookie dough actually tones down the richness of the brownie a little - I'd expected it might have the opposite case and be painfully rich, so was happily surprised to discover that the Other Penguin had the capacity to eat more than one of these in one sitting!
When I make these again, I'd try using more of the sprinkles to make them more apparent in the finished brownie. I suspect that bought sprinkles (with all those additives they have) might well hold their shape more during baking - and would be a hit as an alternative to fairy bread at parties. Overall, though, I was satisfied with how they turned out, and it was fun to finally realise a recipe I'd been imagining for quite a while.
* And, because things always seem to happen at once, is also happening in real life about now, too. Eep! Squee! Bake something before I start to panic...


i never wouldve ever thot to make my own sprinkles but they look great and easy too. love this brownie. good job!
OMG OMG!! I got to try these from Suze the other night and I have to say that these brownies taste SO BLOODY AWESOME! My kind of brownie (I'm not a huge brownie fan as I'm picky with texture and sweetness) but theses had a nice gooey and dense texture and weren't overly sweet. I didn't notice there were sprinkles in them because it was dark but cudos to your for making your own sprinkles - too cool!
I could've easily demolished them if I was given the chance but now I know I can make them. Thanks for the recipe!
those layers are awesome, and i am so impressed you made your own sprinkles, never really thought about it, but my daughter would LOVE to!